Welcome to DEXUAN
How to install the support arm base?
Hey there! As a supplier of Support Arm Bases, I'm excited to walk you through the process of installing one. Whether you're setting up a new workspace or upgrading an old one, getting the support arm base right is crucial. So, let's dive in!
What You'll Need
Before you start the installation, gather the following tools and materials:
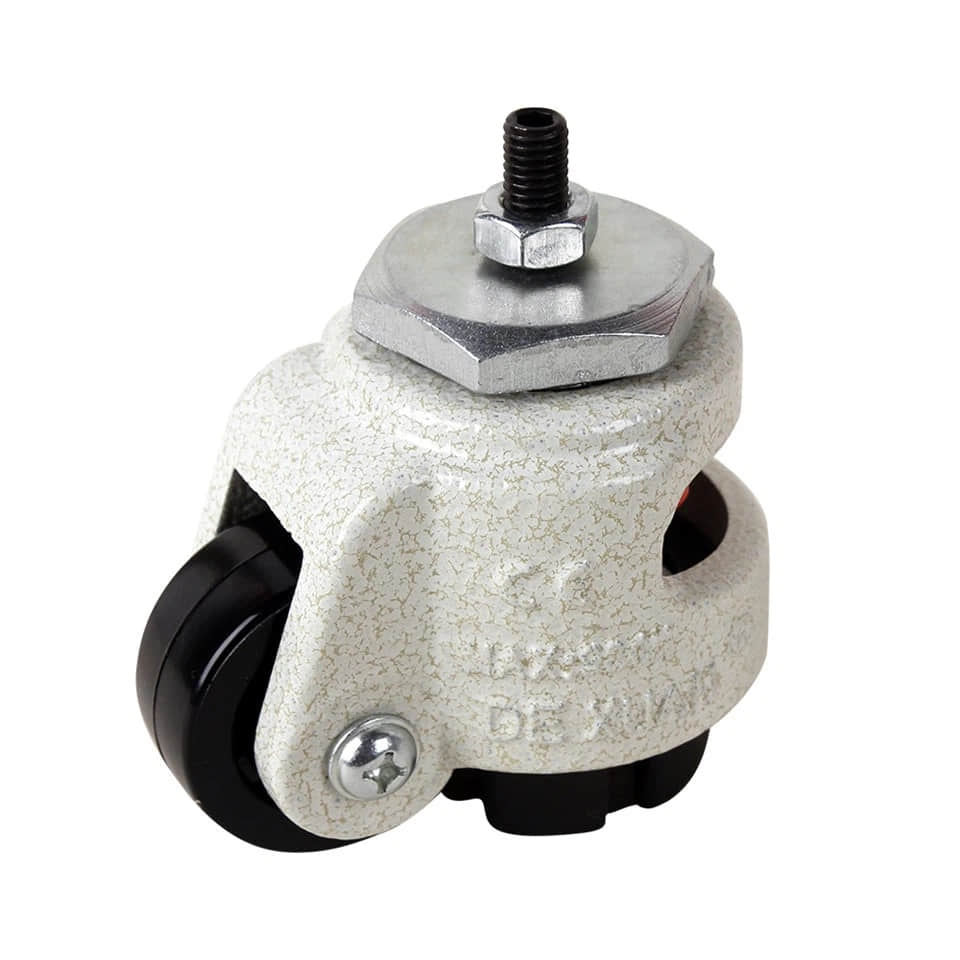
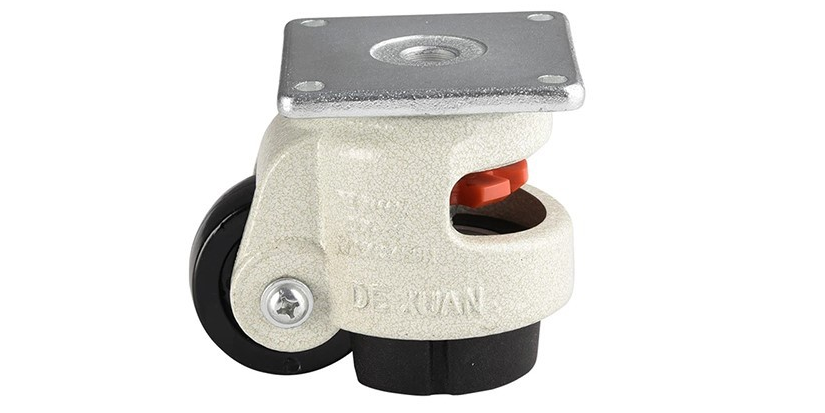
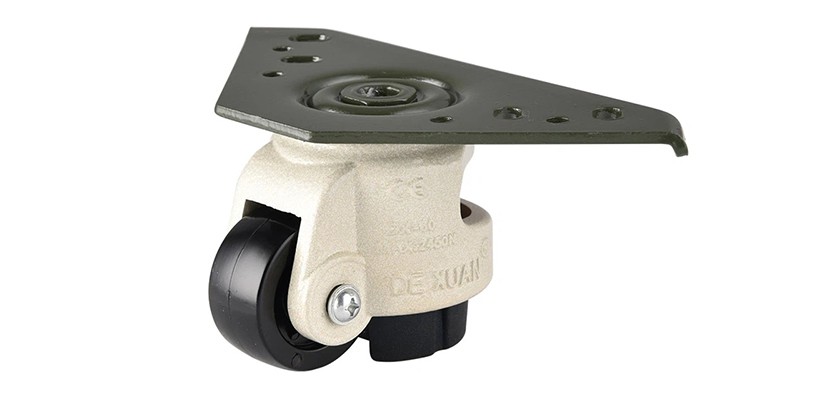
A Support Arm Base (check out our Support Arm Base for a great option)
A drill and appropriate drill bits
Screwdriver (Phillips or flathead, depending on the screws)
Measuring tape
Pencil
Safety goggles and gloves (safety first!)
Step 1: Choose the Right Location
The first step is to find the perfect spot for your support arm base. You want a stable surface that can handle the weight of the arm and any equipment you'll attach to it. A sturdy desk or tabletop is usually a great choice.
Measure the area where you plan to install the base. Make sure there's enough space for the base and that it won't interfere with other objects or equipment.
Use a pencil to mark the center point where you'll drill the holes for the base. Double-check your measurements to ensure accuracy.
Step 2: Prepare the Surface
Once you've marked the location, it's time to prepare the surface for installation. This step is important to ensure a secure and stable fit.
If the surface is made of wood, you can simply drill the holes directly into it. However, if it's made of metal or another hard material, you may need to use a pilot hole first to prevent the surface from cracking or splitting.
Put on your safety goggles and gloves before you start drilling. This will protect your eyes and hands from any debris or sharp edges.
Using the appropriate drill bit, carefully drill the holes at the marked locations. Make sure the holes are deep enough to accommodate the screws that come with the support arm base.
Step 3: Install the Support Arm Base
Now that the surface is prepared, it's time to install the support arm base.
Place the base over the drilled holes and align it with the markings. Make sure it's level and centered.
Insert the screws through the holes in the base and into the drilled holes in the surface. Use a screwdriver to tighten the screws securely. Don't over-tighten them, as this could damage the surface or the base.
Step 4: Attach the Support Arm
Once the base is installed, it's time to attach the support arm.
Depending on the type of support arm you have, there may be different attachment methods. Some arms may require you to use bolts or nuts, while others may simply snap into place.
Follow the manufacturer's instructions carefully to ensure a proper and secure attachment. If you're unsure how to attach the arm, you can refer to the user manual or contact our customer support team for assistance.
Once the arm is attached, make sure it moves freely and smoothly. Adjust the tension or settings if necessary to ensure optimal performance.
Step 5: Test the Support Arm
After the support arm is attached, it's important to test it to make sure it's working properly.
Gently move the arm up and down, side to side, and in a circular motion to ensure it moves smoothly and without any resistance.
If you're attaching equipment to the arm, such as a monitor or a light, make sure it's securely fastened and that the arm can support the weight.
Check the stability of the base and the arm. Make sure there are no loose screws or parts that could cause the arm to wobble or fall.
Tips and Tricks
If you're installing the support arm base on a glass or delicate surface, consider using a protective pad or mat to prevent scratches or damage.
If you're having trouble aligning the base or getting the screws to fit properly, you can use a level or a spirit level to ensure accuracy.
Make sure to read the manufacturer's instructions carefully before you start the installation. This will help you avoid any mistakes or problems along the way.
Different Types of Support Arm Bases
There are several types of support arm bases available, each with its own unique features and benefits. Here are a few popular options:
Rotatable Top Mounted: Our Rotatable Top Mounted support arm base offers 360-degree rotation, allowing you to adjust the position of the arm and the attached equipment easily. This type of base is great for workspaces where you need to move the equipment around frequently.
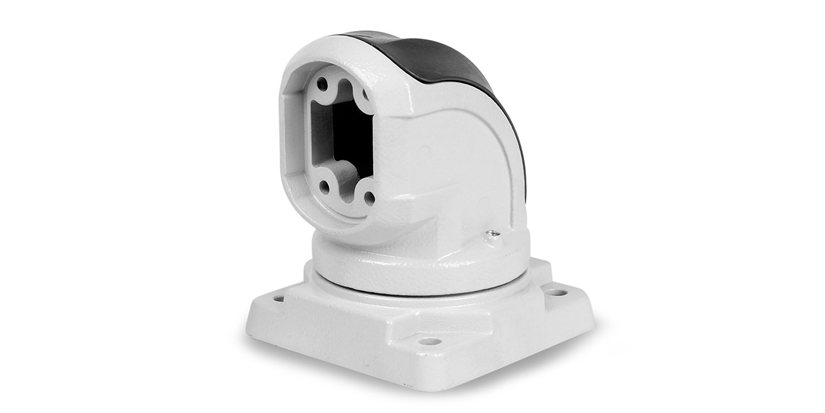
Support Arm System 90°: The Support Arm System 90° is designed to provide a 90-degree angle, which is ideal for mounting monitors or other equipment at a specific height or angle. This type of base is often used in office settings or for home entertainment systems.
Conclusion
Installing a support arm base may seem like a daunting task, but with the right tools, materials, and instructions, it can be a relatively simple and straightforward process. By following the steps outlined in this blog post, you can ensure a secure and stable installation that will provide years of reliable use.


If you have any questions or need further assistance with installing a support arm base, don't hesitate to contact us. We're here to help you make the most of your workspace and ensure that your equipment is properly supported.
Whether you're a small business owner, a home office user, or a professional in need of a reliable support arm system, our Support Arm Bases are designed to meet your needs. So, why wait? Contact us today to discuss your requirements and explore our range of products. We look forward to working with you!
References
Manufacturer's instructions for the Support Arm Base
General knowledge of support arm installation techniques